Join the Bloom Glub
Get my must read guide to getting started in the garden!
Get Started in the Garden Today!
Family
FAVE LINKS
Topics
Hi! I’m Kris! And I’m so gratefully you are here! Your journey to growth begins here. Whether its in your home or your garden, come and grow with me. Let’s grow together.
Have you ever wanted to start a raised bed garden in your backyard but didn’t know where to start? Don’t fear, I have you covered! I partnered with The Home Depot, Miracle-Gro® & Bonnie Plants to build the most amazing backyard garden and now you can too! Using The Home Depot, Miracle-Gro®, Bonnie Plants is a no brainer when it comes to gardening! They make it easy and effortless to grow a garden, even if you are new gardening or have been doing it for years.
Evaluating Your Backyard
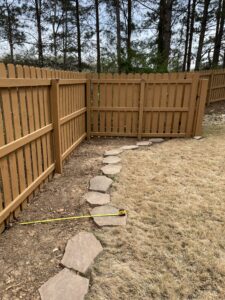
To get started, I took a look at my backyard and figured out which areas received the most sun each day. This is important because plants like tomatoes and peppers thrive on sun, and you want them to be in the sunniest spots available. After selecting the area I wanted to use, I made a plan to clear out the shrubs that were already in the area. The shrubs were there when we first moved in, so I didn’t have a problem parting with them in exchange for more veggies and plants throughout the year.
Picking out Your Raised Bed
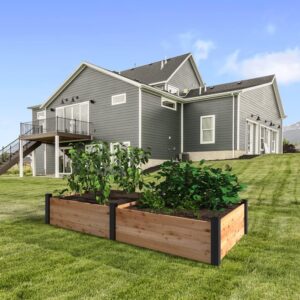
The fun part is starting! After deciding on my area, it’s time to figure out what type of bed you want. Raised beds come in all types of styles, shapes, and sizes. I knew that I wanted to go with a wood bed because I love the natural and rustic look of them, and I know they would look great in my backyard. I then decided to go with cedar wood because it is naturally rot resistant and they look amazing and only get better with time. I recommend using cedar wood because it’s durable and can stand up to years of rain, and if untreated, it’s safe for your plants.
After deciding on the type of raised bed, I had to think through the size. Since I knew I wanted to grow a lot of veggies, and I had a lot of unused space, I knew I wanted a pretty large, raised garden bed. I then headed over to The Home Depot to figure out what raised bed fit my criteria. I knew I wanted a cedar bed that was longer that was at least 6 ft long. I decided on this raised bed and it was so perfect at 8 ft long and 4 ft wide. I also loved that I could put another bed on top of each other to get a taller bed which fits my aesthetic perfectly! It fit all of my specifications and would be perfect in my backyard.
Choosing a Trellis
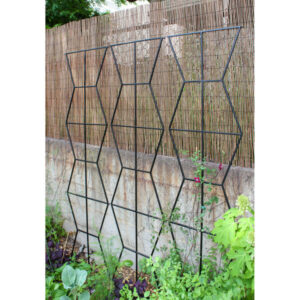
Since I knew I wanted to grow a ton of tomatoes and cucumbers, the next step involved finding a trellis that would support my growing plants. I wanted something unique for the space, so I immediately went to The Home Depot, and was so excited to see a ton of arches and trellis to choose from. I went with this trellis because it was so different, the pattern was unique, and I hadn’t noticed anyone using anything similar. It was an easy yes for me for the trellis!
Building Your Raised Bed
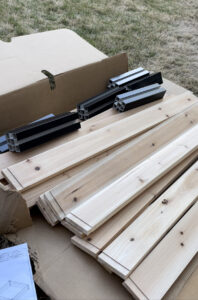
Now that you have figured out your spacing, the type of raised bed you want to use, and your trellis, its time to get to work to put together your raised bed. As you will see in the photos below, my raised bed was fairly easy to put together because all I had to do was slide the pieces into place versus using nails and screens. I loved how simple it was to put together this bed would highly recommend using beds similar to this if you are fairly new to putting together raised beds.
Optional: Staining Your Bed
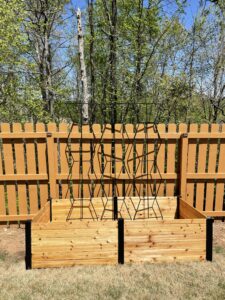
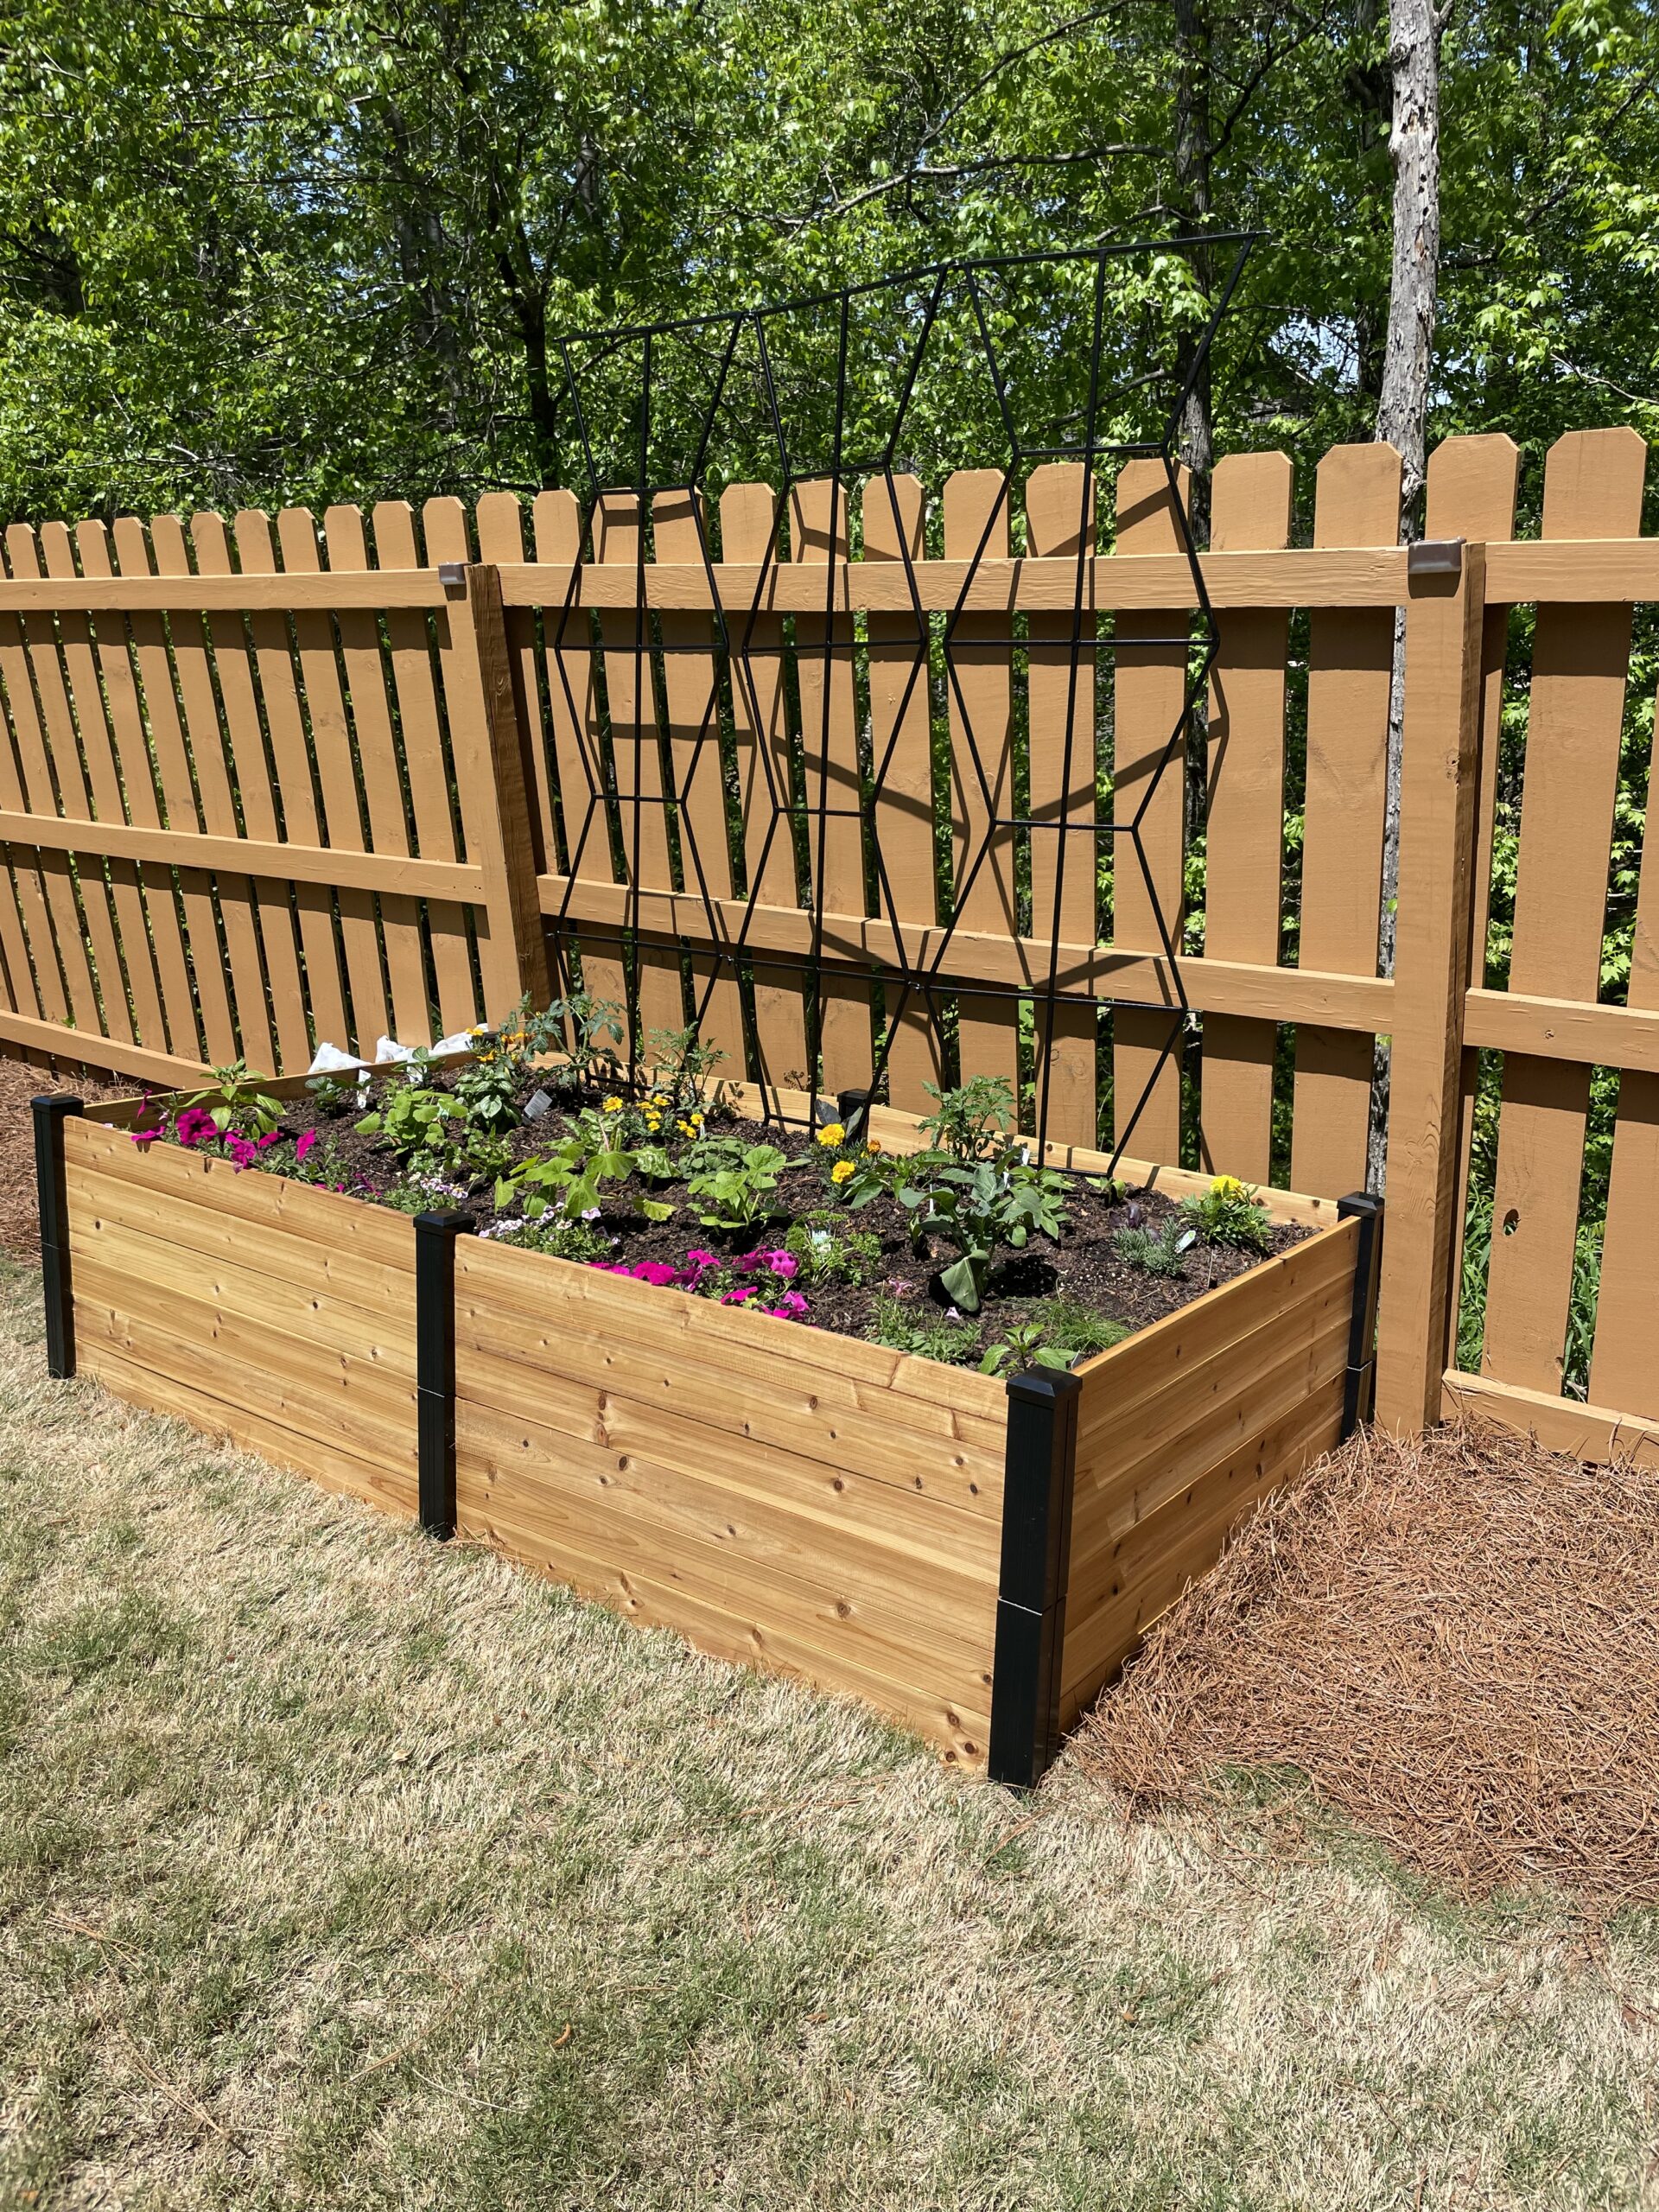
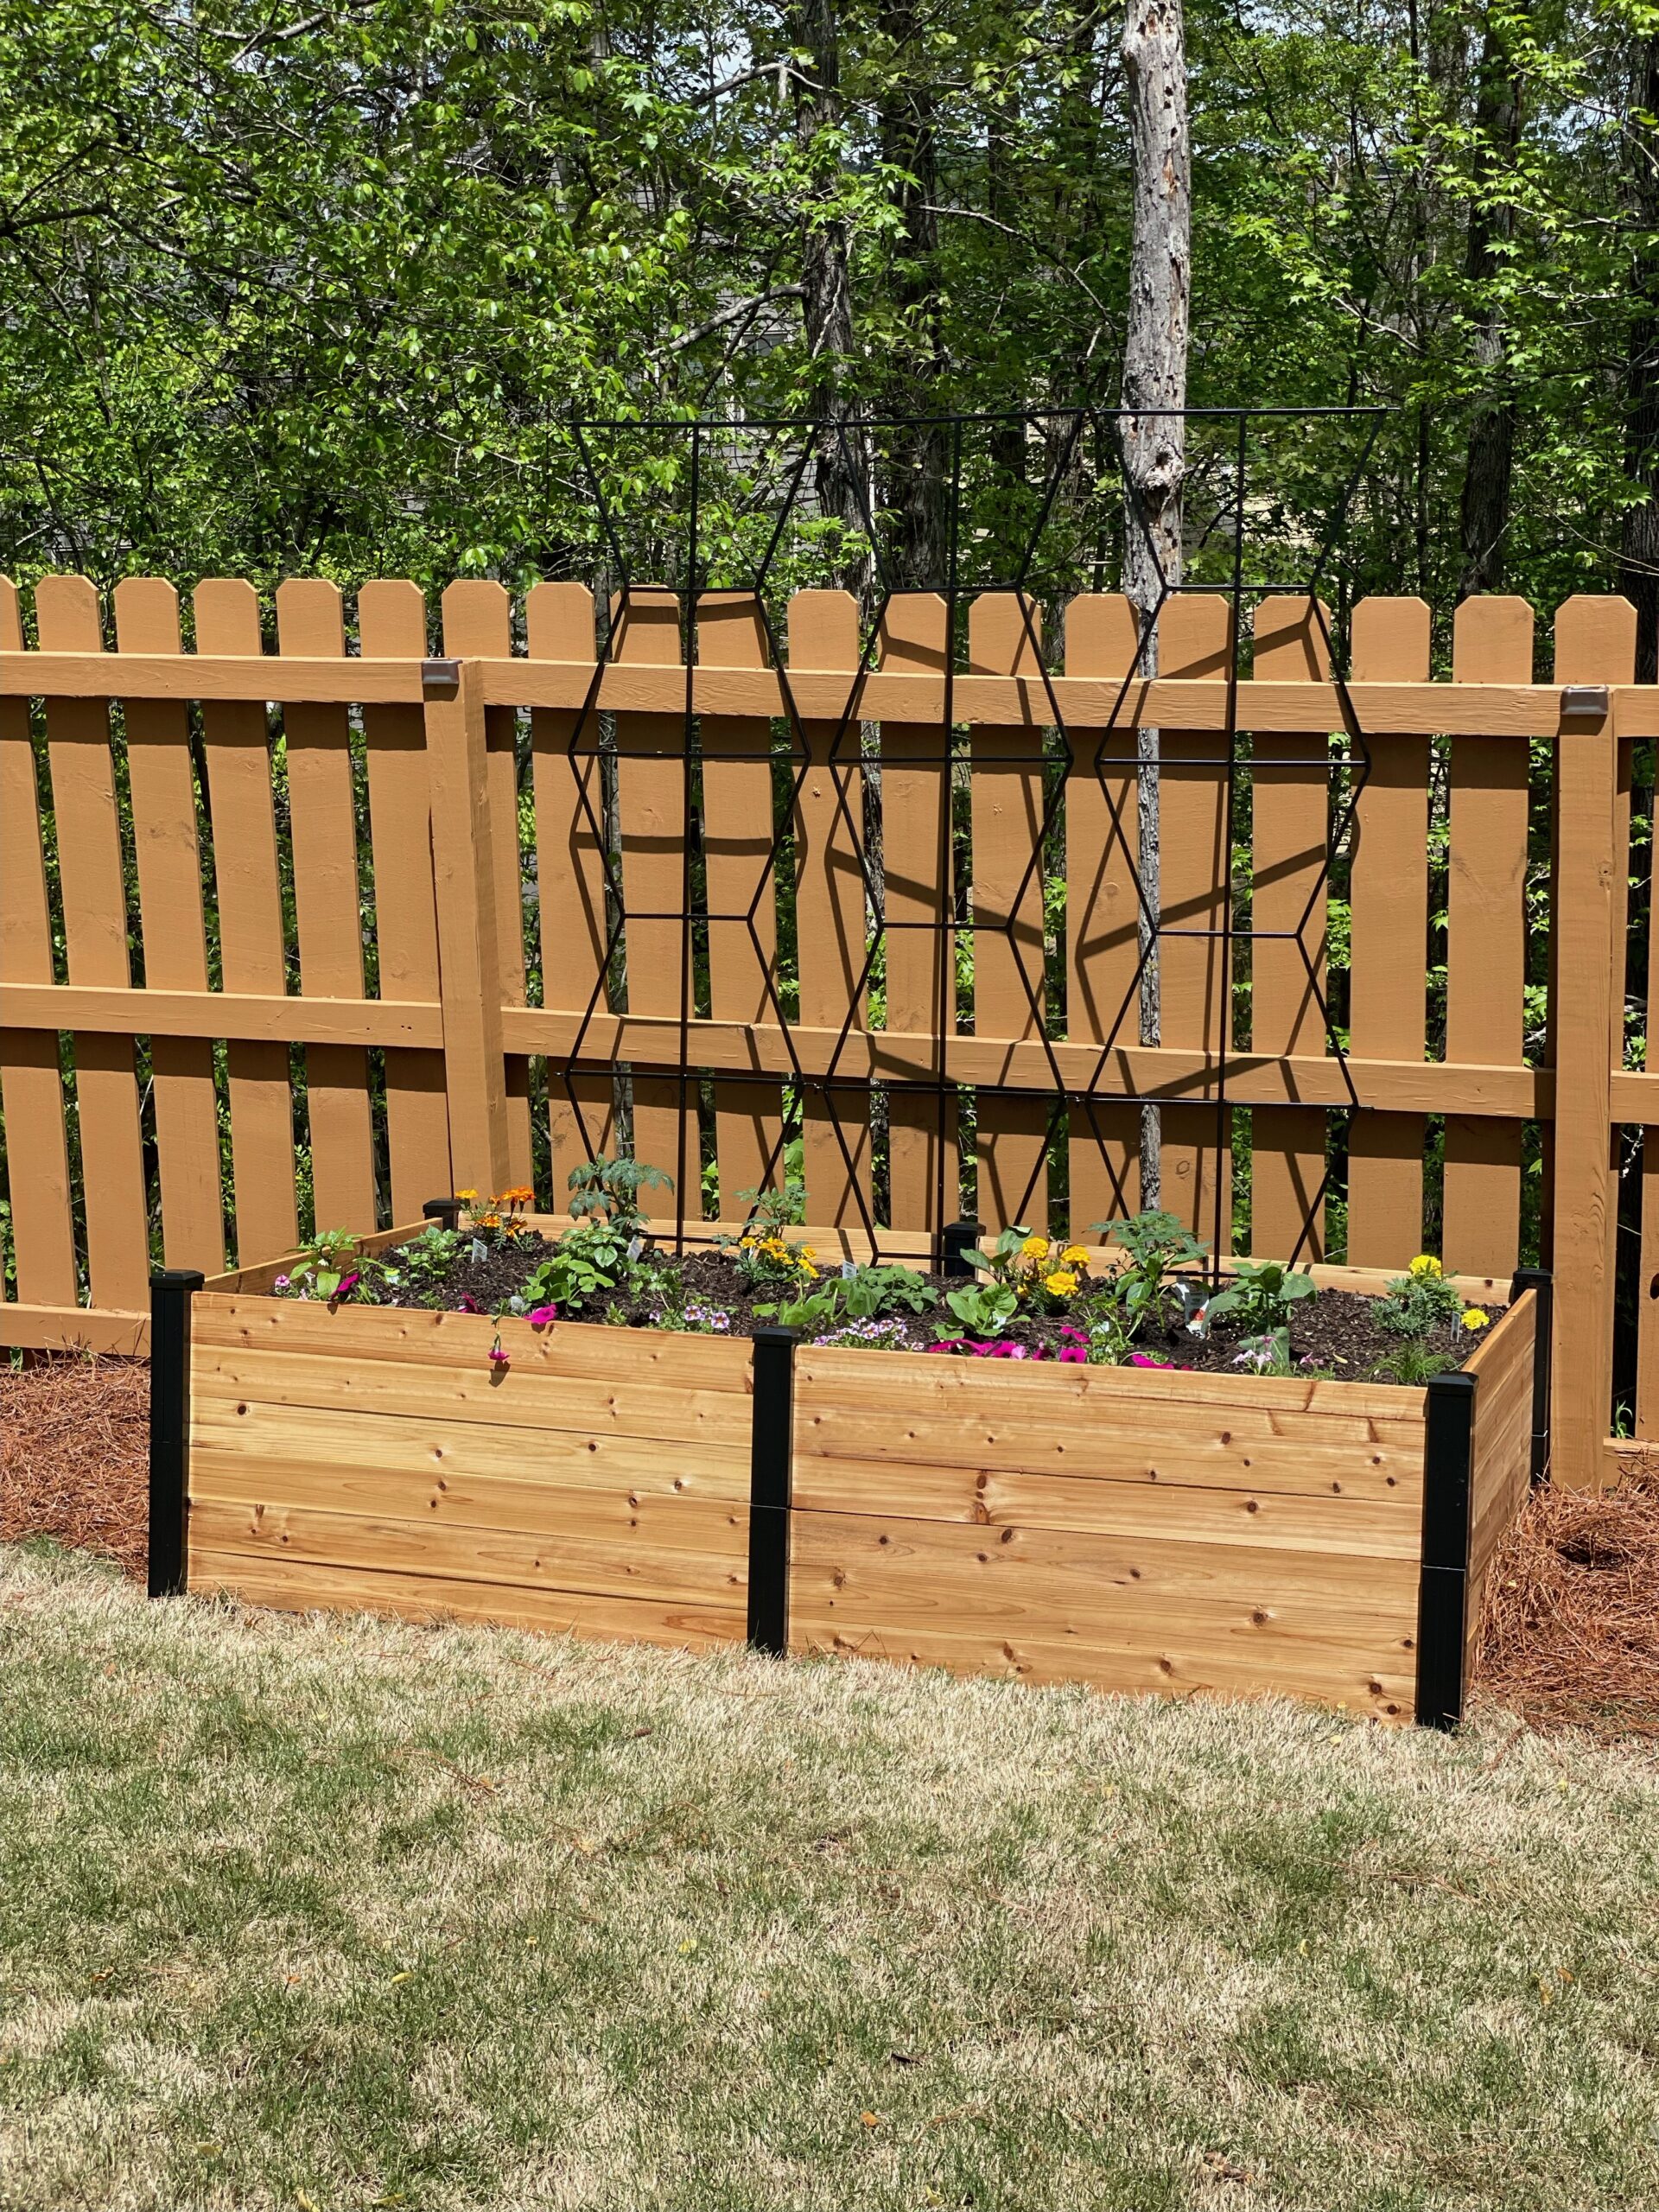
This step is optional, but I love to stain my beds. I used Cedar Oil to stain my raised bed and I love how they turned out! Not only does it enhance the natural cedar color, but it will ensure my bed lasts for years to come. I also went ahead and added in the trellis, and I am so in love with the color and how my raised bed garden is coming together!
Let me know if you have any questions.
Products Used:
- Haven 4 ft. x 8 ft. Natural Cedar Raised Garden Bed (11 in. Height
- 84 in. H Black Powdercoated Wrought Iron Outdoor Garden Zigzag Screen Trellis
- Bonnie Plants Harvest Select Raised Bed Soil 1.5 cu. ft. Raised Bed Soil
- Miracle Gro Shake ‘n Feed 4.5 lbs. All Purpose Plant Food
#SponsoredPost
Explore Reader
SHOP
Fitbit Versa 2 Health & Fitness Smartwatch
SHOP
Bamboo Nesting storage boxes
SHOP
Ilia Super Serum Skin Tint SPF 40
SHOP
Ninja Max XL Electric Air FryeR
SHOP
Cuisinart 15-Piece Knife Set with Block
SHOP
Muse Bath Apothecary Hand Ritual
SHOP
Martha Stewart 100% Cotton Bath Towels
SHOP
Eozlink Fluffy Fur Slides
Business
Homesteading
Living
Fashion
Beauty
Browse the categories
Leave a Reply Cancel reply
Have a question for me? Want a garden consult? Drop me a line.
Get garden tips delivered straight to your inbox!

Be the first to comment